Try "kitchen decor", "appliances", or "renovation tips"
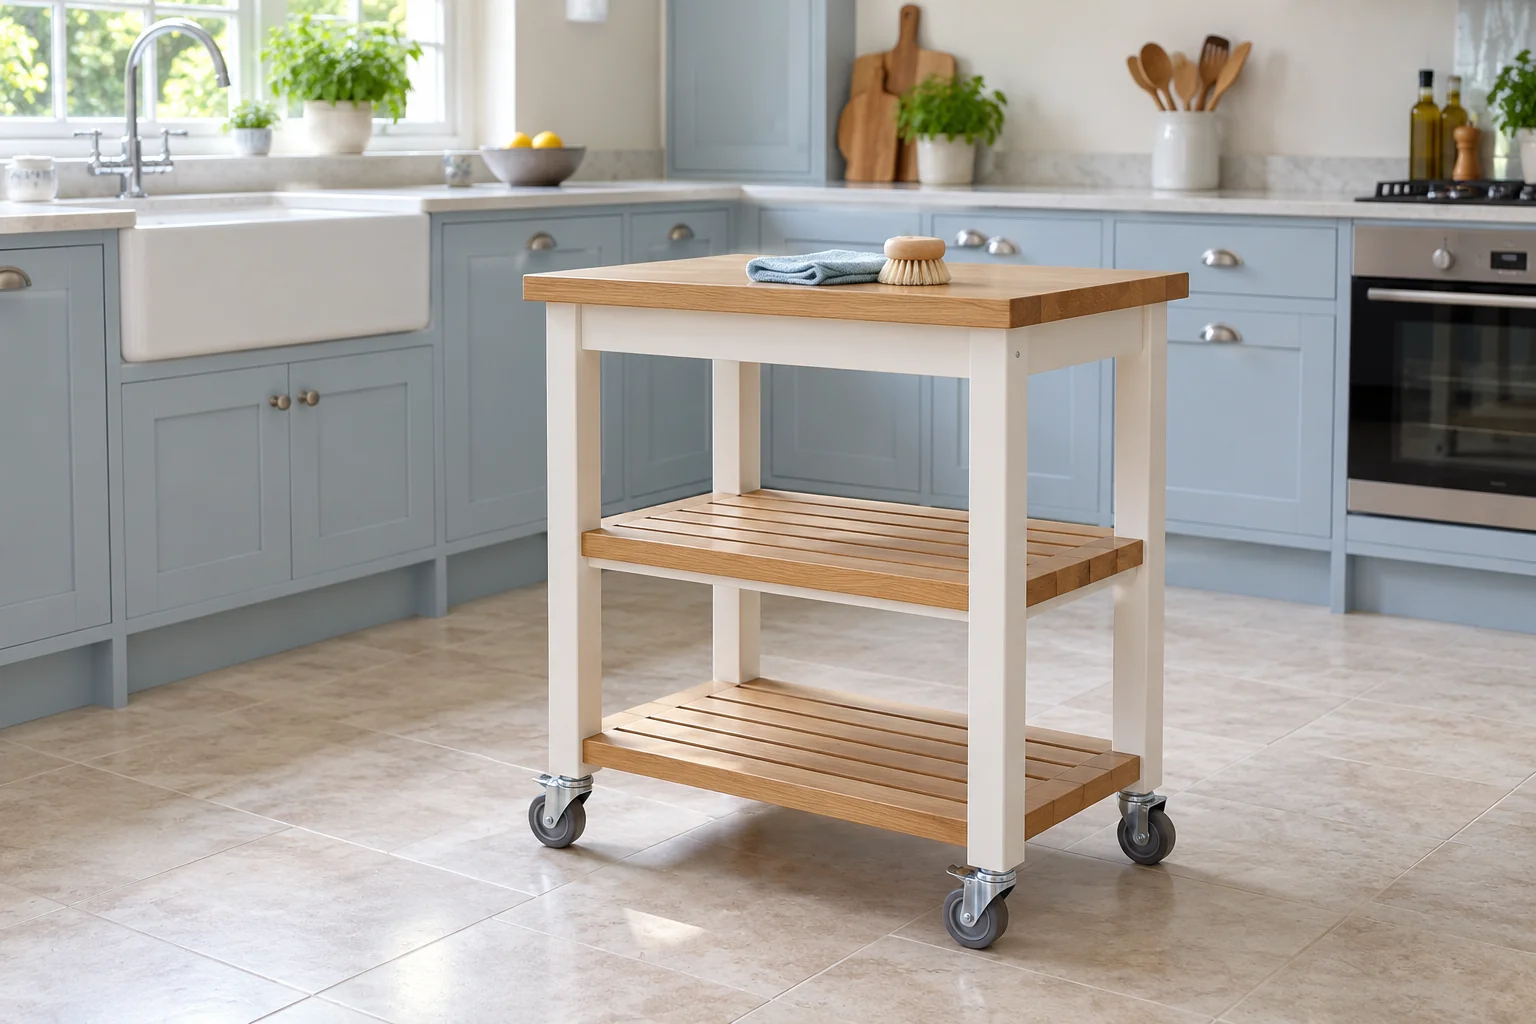
A kitchen trolley is useful for extra storage, food preparation or serving, particularly in a compact kitchen. But crumbs, grease and dust can gather beneath the shelves, around the wheels and inside joints. Cleaning these areas is difficult if the trolley stays packed and pushed against a wall.
The good news is that many kitchen trolleys can be moved or partly dismantled without much effort. The right method depends on whether yours is a freestanding wheeled cart, a trolley with removable shelves or a fitted pull-out unit attached to kitchen cabinets.
Before removing anything, identify the type of trolley and check its instructions if available. This guide explains a safe, practical approach.
These trolleys are designed to move around the kitchen. Most can be rolled away once the shelves are cleared and any wheel brakes are released. Some models have removable trays or shelves for easier cleaning.
Some metal, plastic and wooden trolleys use shelves that lift off or attach to a frame with clips. These can often be dismantled for a more thorough clean, but the shelf supports and fixings vary by model.
A pull-out pantry or narrow cabinet trolley may be attached to runners, rails or a fixed frame. Do not simply yank it out. Look for release clips or follow the manufacturer's instructions, as forcing the mechanism can bend the runners or damage the cabinet.
Prepare a few basic items before starting:
Use products suitable for the trolley's material. Wood, painted metal, stainless steel and plastic may need different care. Avoid soaking wooden parts or applying abrasive cleaners to painted surfaces.
Remove food, jars, utensils, appliances and any other stored items. Check underneath shelves and inside baskets for crumbs or spills.
Place food in a clean, dry area away from cleaning products. If the trolley is used to hold food or crockery, avoid putting cleaned items back until the trolley is fully dry.
Emptying the trolley also makes it lighter and easier to move safely.
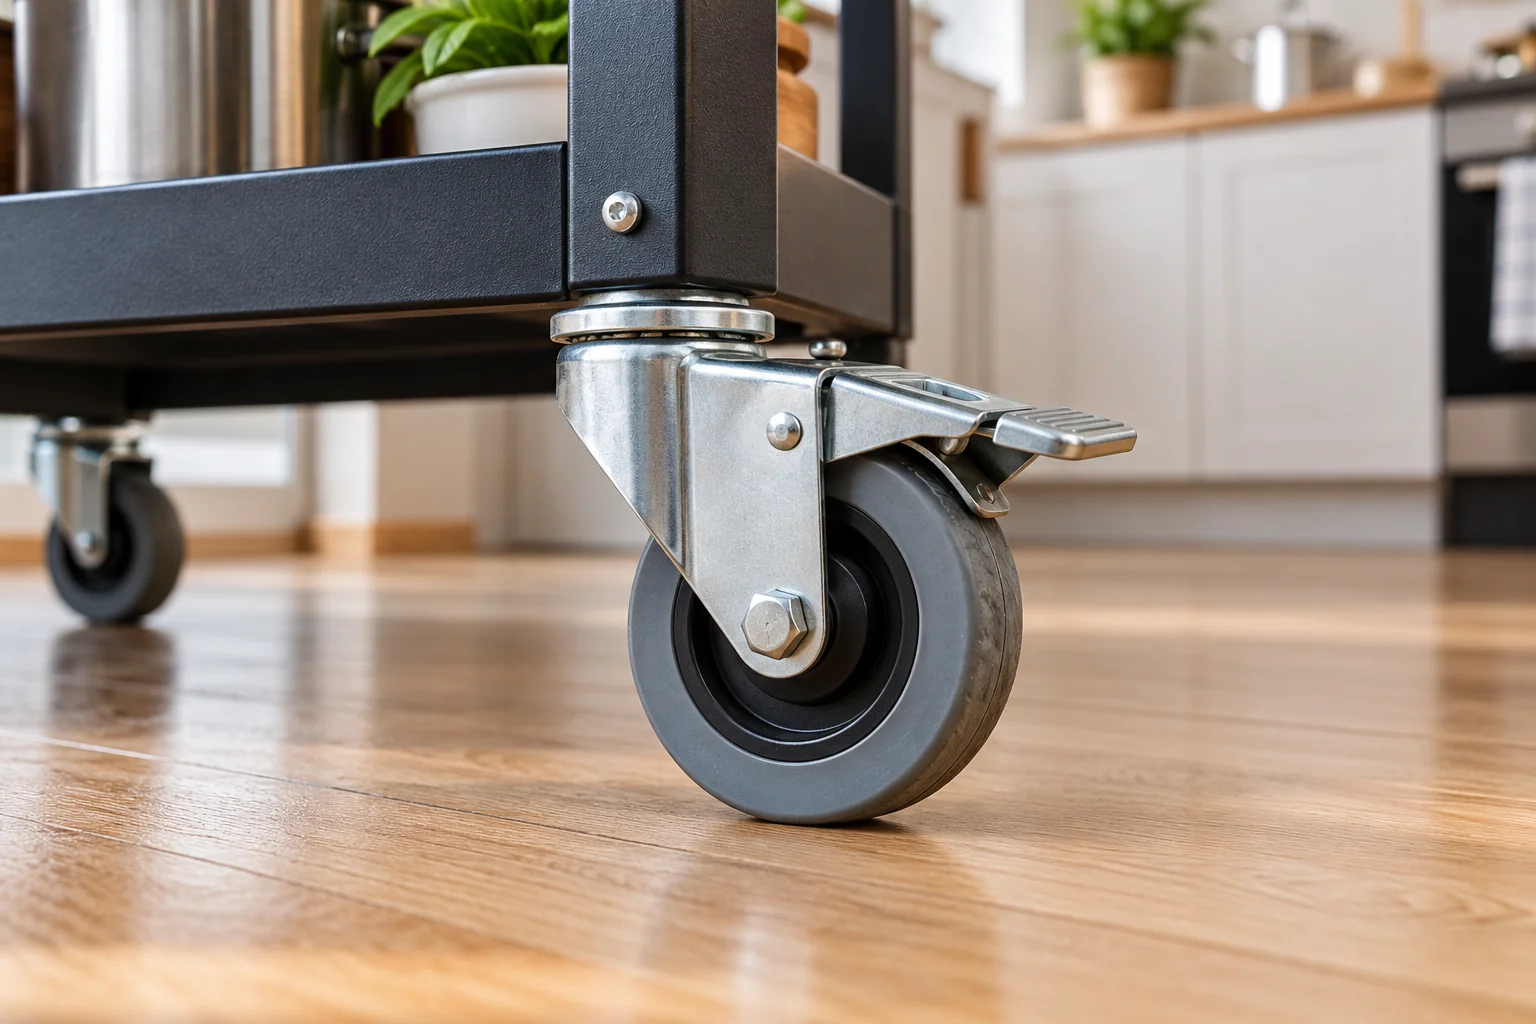
If the trolley has wheel locks, release them before moving it. Check that the route is clear and that the floor is dry enough to avoid slipping.
Move the trolley gently rather than pulling it by a shelf or handle that may not be designed to take the force. If it feels stuck, look for a wheel caught against a floor mat, a cable or debris around the caster.
For a fitted pull-out unit, check the release mechanism instead of forcing it. If the trolley is heavy, unstable or fixed to the cabinetry, ask someone to help or consult the manufacturer.
Roll a freestanding trolley into a clear space where you can reach all sides. Keep it on a level surface and apply the brakes once it is in position.
If the trolley is heavy, has glass shelves or carries an appliance, remove those items first. Do not tilt it sharply or lift it by a removable shelf.
Moving the trolley also lets you clean the floor behind it, where crumbs and dust can collect.
Look for visible clips, hooks, screws or shelf supports. If the shelves simply lift out, remove them one at a time and place them on a protected surface. If screws are involved, use the correct screwdriver and keep the fixings together in a small container.
Do not dismantle parts that appear welded, glued or permanently fixed. If the instructions are unavailable and the mechanism is unclear, clean the trolley assembled rather than risk damaging it.
For pull-out cabinet trolleys, use the manufacturer's release procedure for the runners. Some systems have levers or clips on both sides that must be operated together.
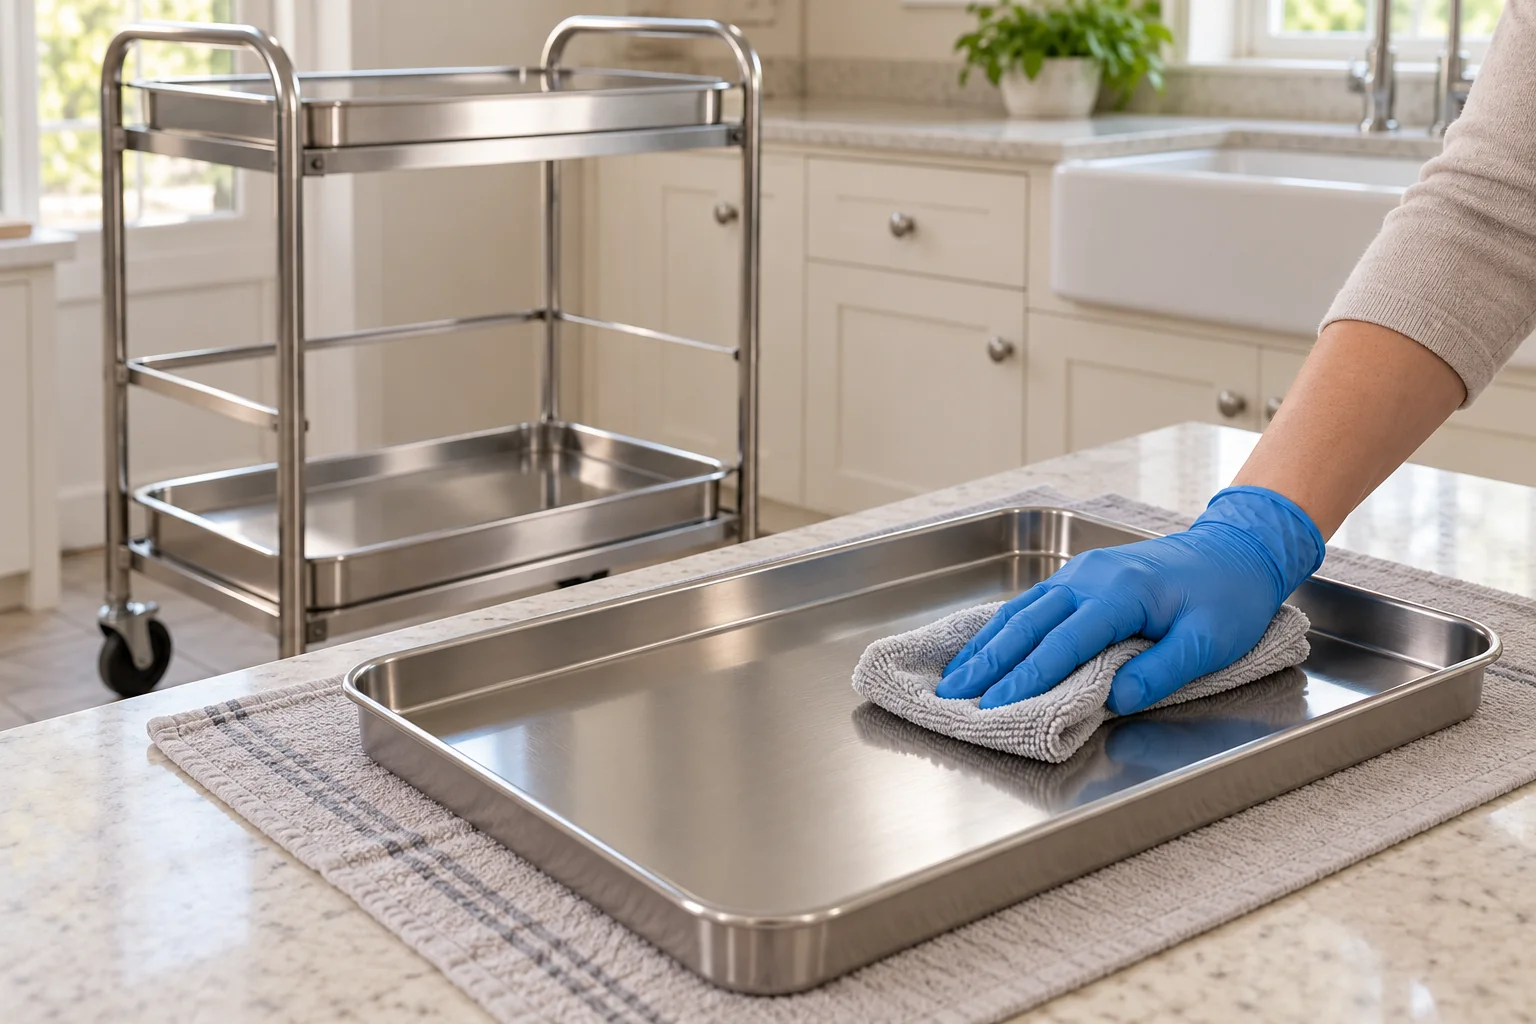
Wipe shelves with warm water and mild detergent, then rinse with a clean damp cloth if needed. Dry thoroughly before reassembling, especially around joints, metal fittings and wooden edges.
Use a soft brush to remove crumbs from corners and around shelf supports. For stainless steel, wipe in the direction of the grain where applicable and use a suitable cleaner to avoid streaks.
Do not soak wood or leave water standing on metal parts, as moisture can cause damage or corrosion depending on the finish.
Turn the trolley carefully or access the wheels one at a time. Remove loose hair, string and crumbs from around the wheel axle using fingers protected as needed or a suitable tool. Avoid damaging the wheel or forcing debris deeper into the mechanism.
Wipe the wheel surface with a damp cloth and use a soft brush for grooves. If the manufacturer allows it, clean the wheel area with mild detergent and dry it thoroughly.
Do not apply oil or lubricant unless the instructions recommend it. Some products can attract more dirt or damage plastic and rubber components.
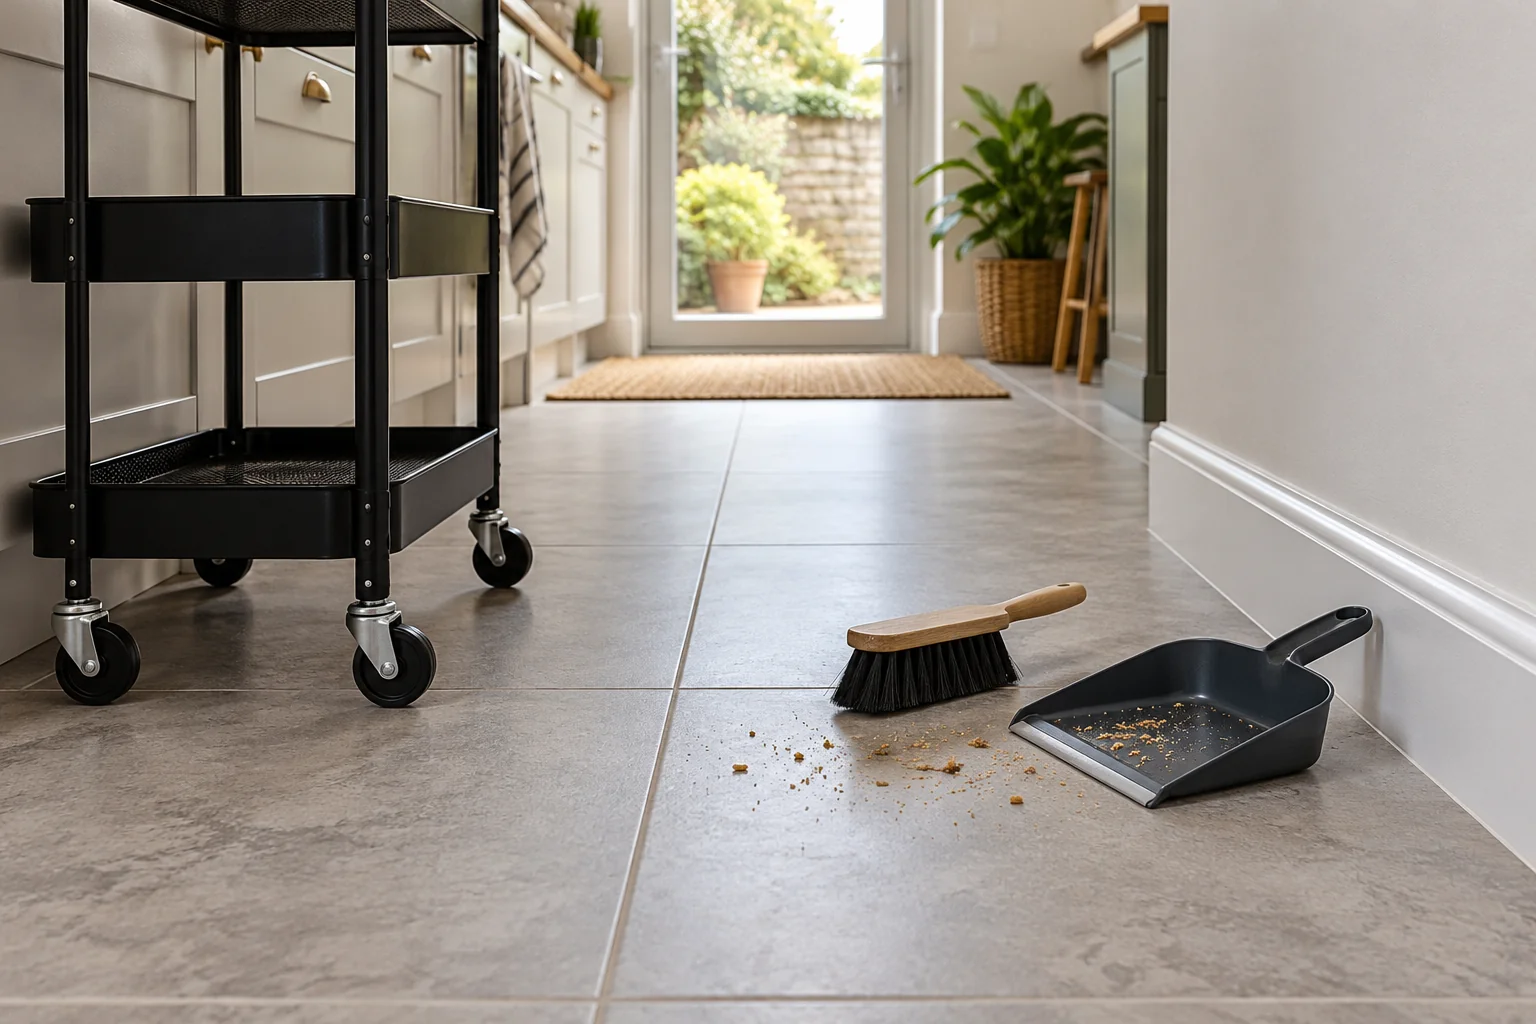
With the trolley moved aside, sweep or vacuum the area. Wipe up sticky marks using a floor-safe cleaner and dry the floor before moving the trolley back.
Check for damage or moisture around nearby skirting boards and cabinet sides. If the trolley has been standing beside a sink or dishwasher, look for signs of a leak rather than simply cleaning over the damp patch.
If you removed shelves or baskets, refit them according to the instructions. Tighten screws securely without overtightening, and ensure clips are properly seated.
Test that the trolley stands level and that wheels rotate freely. Engage the brakes when it is parked. If it wobbles, check that each shelf and fixing is correctly installed before loading it again.
Return items only after all surfaces are dry. Put heavier items on lower shelves where the design allows, and avoid overloading the trolley beyond its stated capacity.
The frequency depends on how you use it. A trolley used for food preparation or holding frequently handled items may need a quick wipe several times a week. A storage trolley may need a more thorough clean weekly or whenever crumbs and spills appear.
Clean the wheels and the floor beneath them whenever you notice debris, sticky movement or a build-up of dust. If the trolley is used to serve food, clean it before and after tasks that could contaminate the surface.
Pulling a fitted trolley out by force: This can damage runners and cabinet fixings. Find the release mechanism first.
Cleaning with the trolley overloaded: Remove items before moving it so it is lighter and more stable.
Soaking wooden shelves: Excess water can swell or damage wood and its finish. Use a damp cloth and dry promptly.
Ignoring the wheels: Dirt around the axles can make the trolley difficult to move and can scratch floors.
Reassembling while parts are wet: Trapped moisture can damage some materials and leave marks. Dry all parts first.
To remove a kitchen trolley for cleaning, empty it first, release any wheel brakes and move it to a clear space. Remove only the shelves or fittings designed to come off, then clean the frame, wheels and floor underneath. If your trolley is built into a cabinet, follow the manufacturer's release instructions rather than forcing it.
A little regular maintenance keeps the trolley easier to move, protects the floor and stops hidden crumbs and grease from accumulating.

Make more of your kitchen with practical tips on furniture, decor, appliances, cleaning and renovation. Discover useful guides and food ideas to create a space that works beautifully every day.