
Signup our newsletter to get update information, news, insight or promotions.
When your kitchen cabinets do not meet the modern colour requirements, giving them a fresh look is important. But before diving into the painting process, the first step is to remove the old paint from the cabinets. While this may seem difficult, you can achieve great results using the right tools, following a process guide, and taking necessary safety precautions. In this blog post, we will guide you through a step-by-step process for effectively stripping paint from your kitchen cabinets.
Removing old paint is not a simple step. So, you must go through each step carefully.
Before starting the strip process, gather these tools:
To avoid damage or contamination, remove all items from kitchen cabinets. Carefully disassemble all the cabinets’ drawers, doors, and hardware, including handles and hinges. Place all pieces in a well-ventilated area to help with paint removal. The process of disassembling does not just save every piece from harsh chemicals, but it will also make it easy for you to strip every part easily.
To safeguard your countertops, nearby walls, and floors, cover them with a plastic sheet or a drop cloth, whichever is available. Use painter’s tape on corners, edges, and movable areas to protect. This will help prevent any lasting damage to these surrounding surfaces.
Make sure you use paint strippers designed for kitchen cabinets, as they are effective at removing tough coatings. For vertical surfaces, choose gel-based strippers because they penetrate efficiently. Considering the manufacturer’s instructions, apply a thick coat with the help of a brush. Let the product sit for the recommended time, typically 15 to 30 minutes. However, some surfaces require a longer time duration.
Once you have finished stripping, use a putty knife to scrape off the paint. For this step, perform the work carefully and slowly to prevent damage to the underlying laminate and wood surface. If some areas resist removal, apply another stripper layer and wait before scraping. Be cautious, as repeating this step too often can cause surface damage.
Once you have done the major steps of removing, the next step is to clean all the parts of the cabinets thoroughly by using water, soap, or any degreasing solution. This ensures that no chemical residue remains. Sand the surface with medium-grit sandpaper to provide a suitable base for the new paint and to smooth out imperfections. At last, wipe everything with a tack cloth to remove any debris.
For long-term results, choose a high-quality primer that provides a uniform, solid base once applied. After it dries, your kitchen cabinets are ready for the paint. It is recommended to use two to three thin coats, allowing sufficient time for each coat to dry.
Removing paint from kitchen cabinets is a possible DIY project, but not everyone can do it. Consider these before doing it by yourself:
On the other hand, you can hire a specialist for guaranteed results. These professionals are better suited to larger kitchens, but the cost of hiring one varies. It is important to note that hiring a professional to remove paint is valuable for individuals who want a stress-free experience.
Removing paint from the kitchen cabinets is a step toward modern colour that matches your décor. By following each step carefully, from gathering the tools to applying the final finish, you can achieve an eye-catching transformation that breathes new life into your kitchen. You can remove the old paint by yourself, but the key is to understand the process thoroughly to avoid pitfalls.

Home A kitchen is a charming place where you enjoy eating, cooking, and gossiping with your siblings, friends, and family.

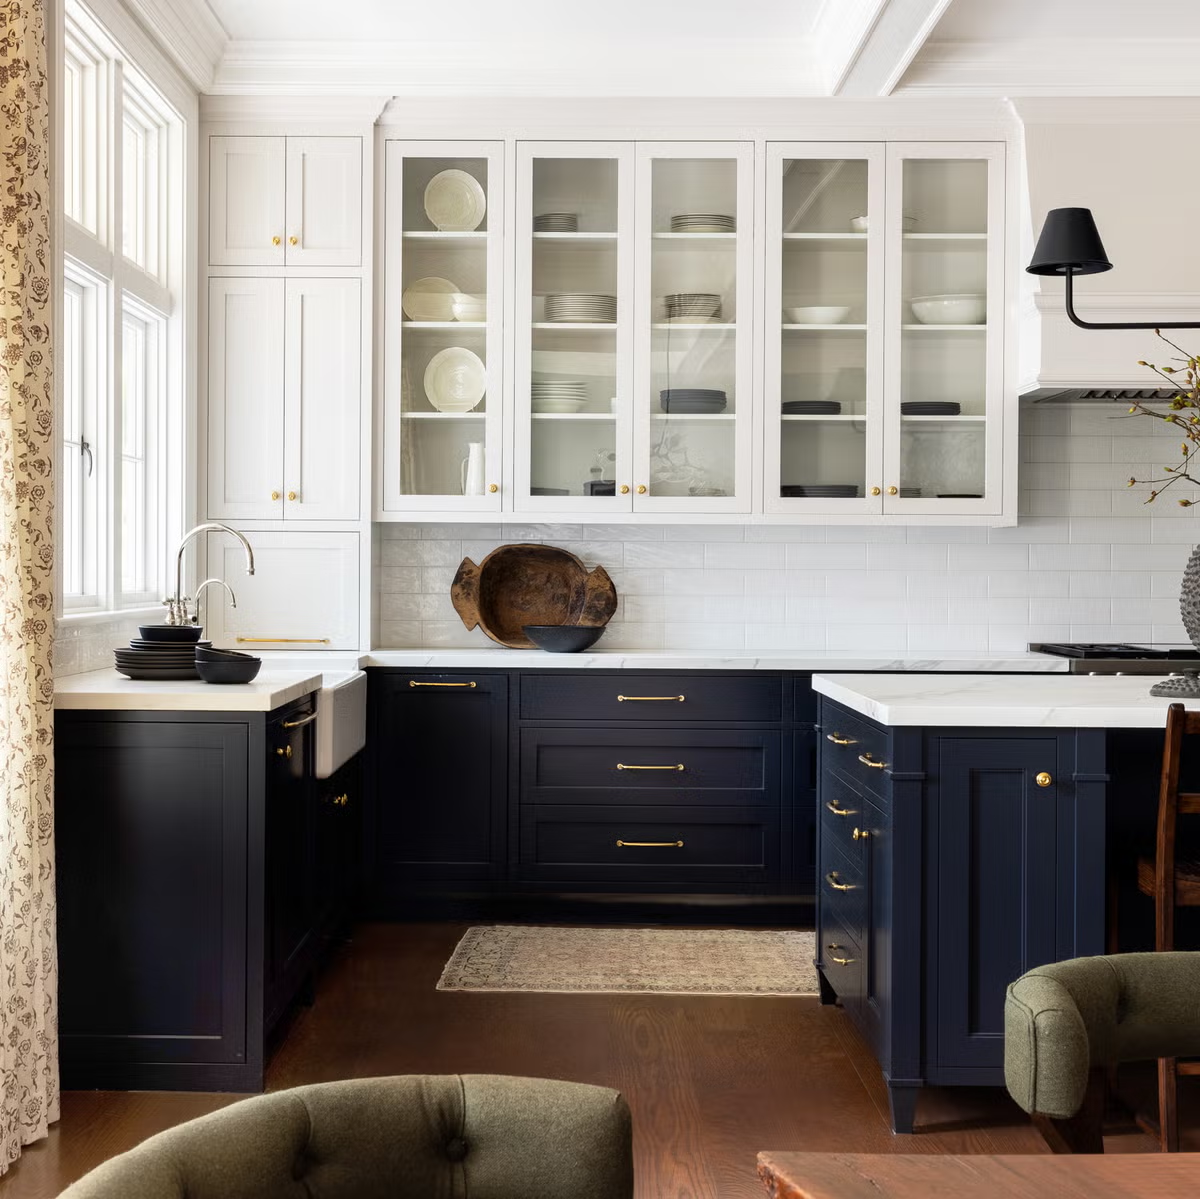
Home Introduction Two-tone kitchen cabinets go beyond simple decoration; they are a purposeful design choice that thoughtfully addresses scale, light,

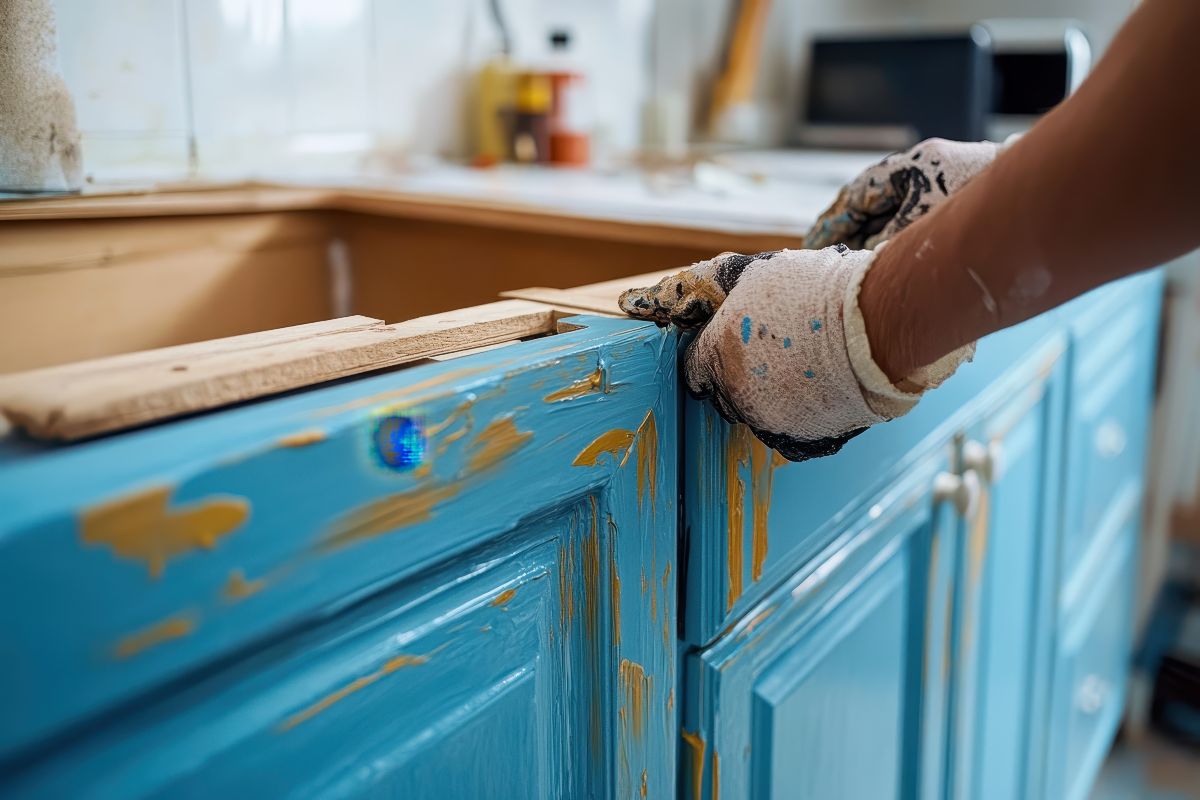
Home When your kitchen cabinets do not meet the modern colour requirements, giving them a fresh look is important. But