Try "kitchen decor", "appliances", or "renovation tips"
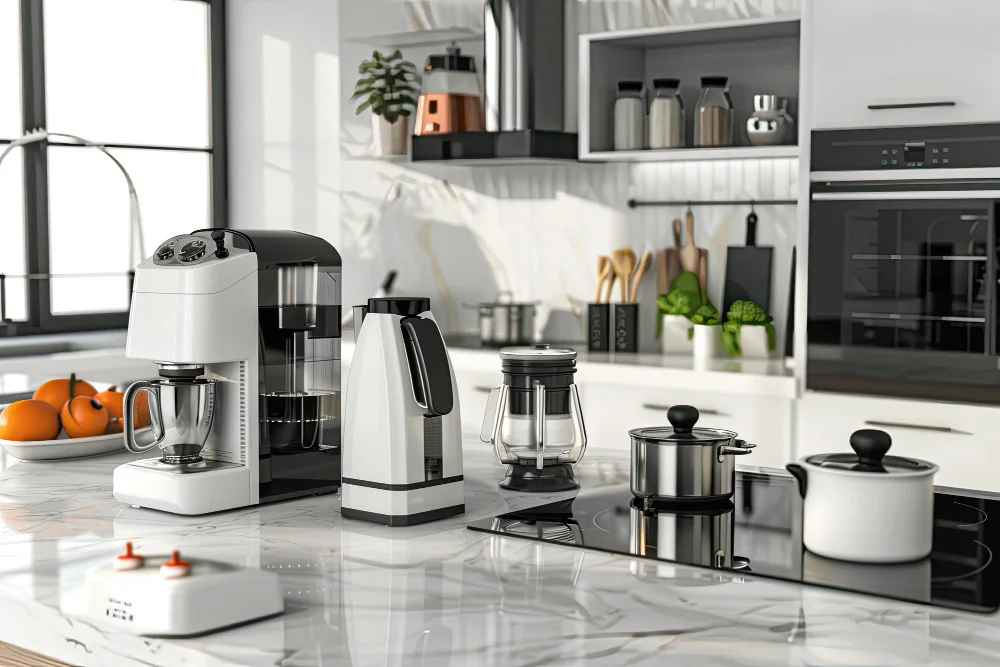
Kitchen appliances make everyday cooking faster and easier, but they can quickly collect grease, food residue, fingerprints, limescale and dust. From your oven and microwave to the kettle, toaster and fridge, regular cleaning helps keep appliances looking better, working efficiently and maintaining good kitchen hygiene.
The good news is that most kitchen appliances do not require specialist cleaning products or complicated methods. With the right approach, you can clean them safely using simple household supplies and a little consistency.
This guide explains how to clean common kitchen appliances, what to avoid and how often each appliance should ideally be cleaned.
Kitchen appliances are exposed to food, moisture, heat and grease almost every day. If they are neglected, dirt can build up and become much harder to remove.
Food particles and grease can create an unhygienic environment, particularly around appliances that come into frequent contact with food.
Regular cleaning helps reduce the build-up of:
A clean appliance can often operate more effectively. For instance, removing grease from an oven interior or dust from ventilation areas can help the appliance work as intended.
Looking after appliances properly can help prevent avoidable damage caused by excessive grease, moisture or residue. Cleaning also gives you an opportunity to spot problems before they become more serious.
You do not need a cupboard full of specialist products. A few basic cleaning supplies can handle most everyday jobs.
Keep the following items available:
Always check the appliance manufacturer's cleaning instructions before using a new product, particularly on stainless steel, glass, coated surfaces or electronic controls.
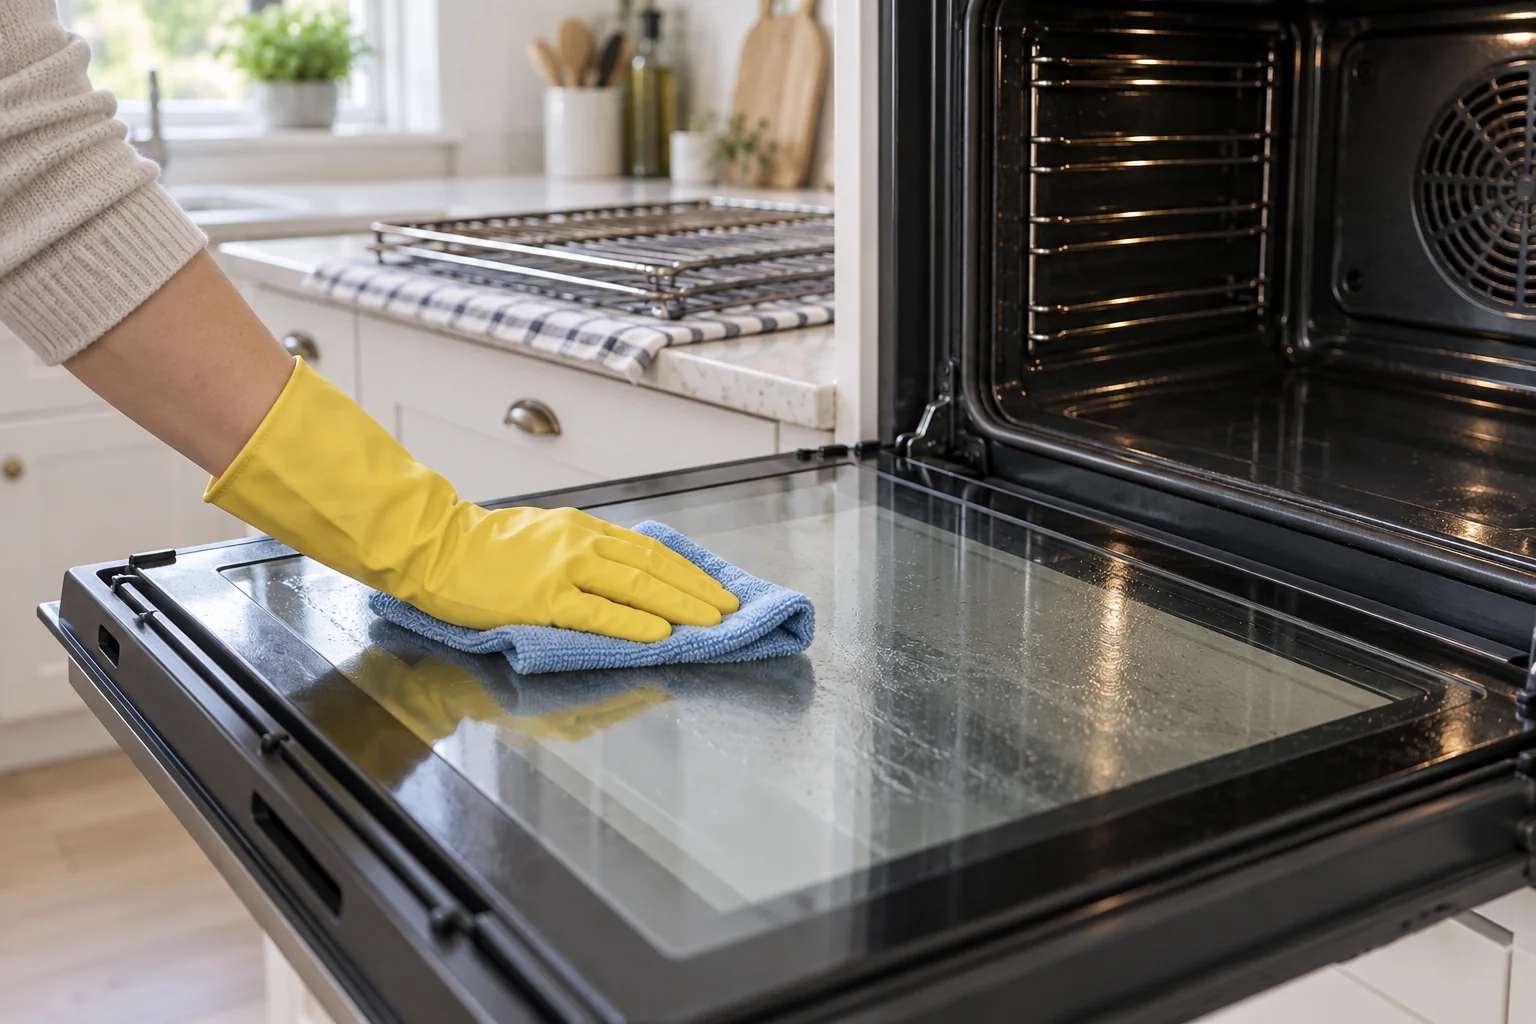
The oven is usually one of the hardest-working appliances in a kitchen and one of the easiest places for grease and burnt-on food to accumulate.
Remove the oven shelves and soak them in warm water with washing-up liquid. Leave them for around 20–30 minutes before gently scrubbing away residue.
For stubborn marks, a paste made from baking soda and water can help loosen grime. Rinse the shelves thoroughly and dry them before putting them back.
Once the oven is completely cool, remove loose food particles with a cloth or soft brush.
Apply a suitable oven cleaner if recommended by the manufacturer, or use a mild homemade cleaning solution where appropriate. Avoid applying liquids directly to heating elements, fans or electrical components.
Pay particular attention to:
Avoid using abrasive scourers on surfaces that could be scratched.
A glass oven door can become cloudy with grease and cooking residue. Use a soft cloth and an appropriate glass-safe cleaner.
If your oven door has removable glass panels, only remove them if the manufacturer's instructions specifically explain how to do so safely.
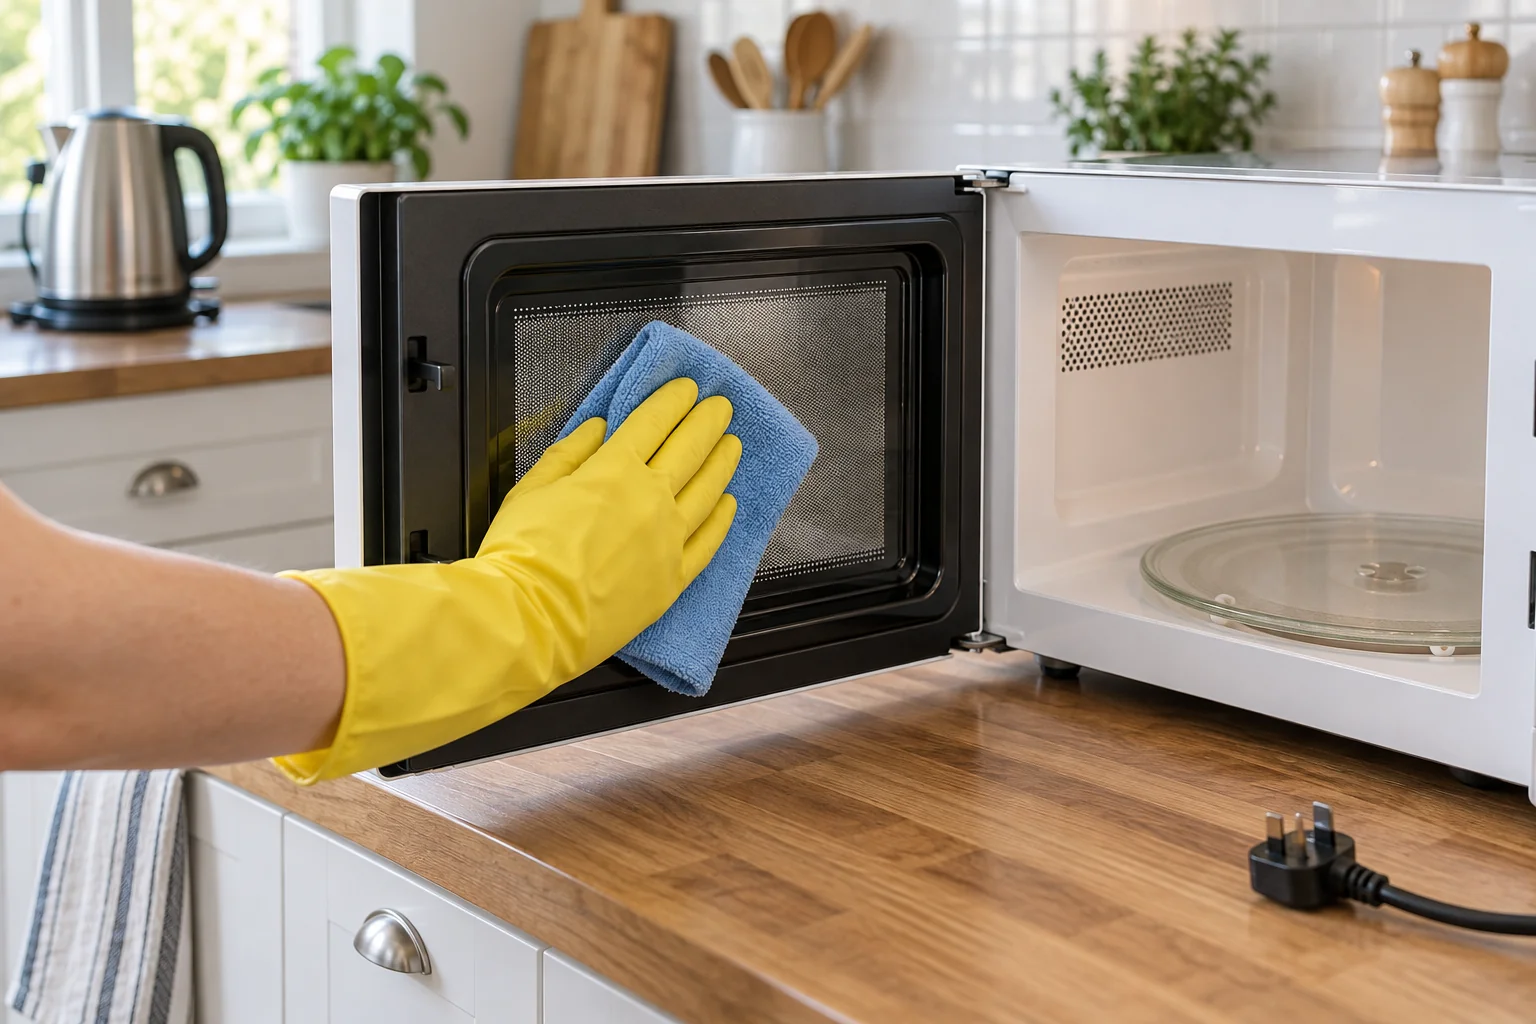
Microwaves can quickly develop food splashes and unpleasant smells, especially when meals are heated without a cover.
Place a microwave-safe bowl containing water inside the microwave and heat it for a few minutes. The steam can soften dried-on food.
Once the cycle has finished, leave the door closed for a few minutes before carefully wiping the interior with a damp microfibre cloth.
Remove the glass turntable and wash it separately with warm water and washing-up liquid.
Make sure it is completely dry before replacing it.
Wipe the inside and outside of the microwave door, paying attention to the edges where food and grease can accumulate.
Never immerse the microwave itself in water or spray cleaning products directly into vents or electrical openings.
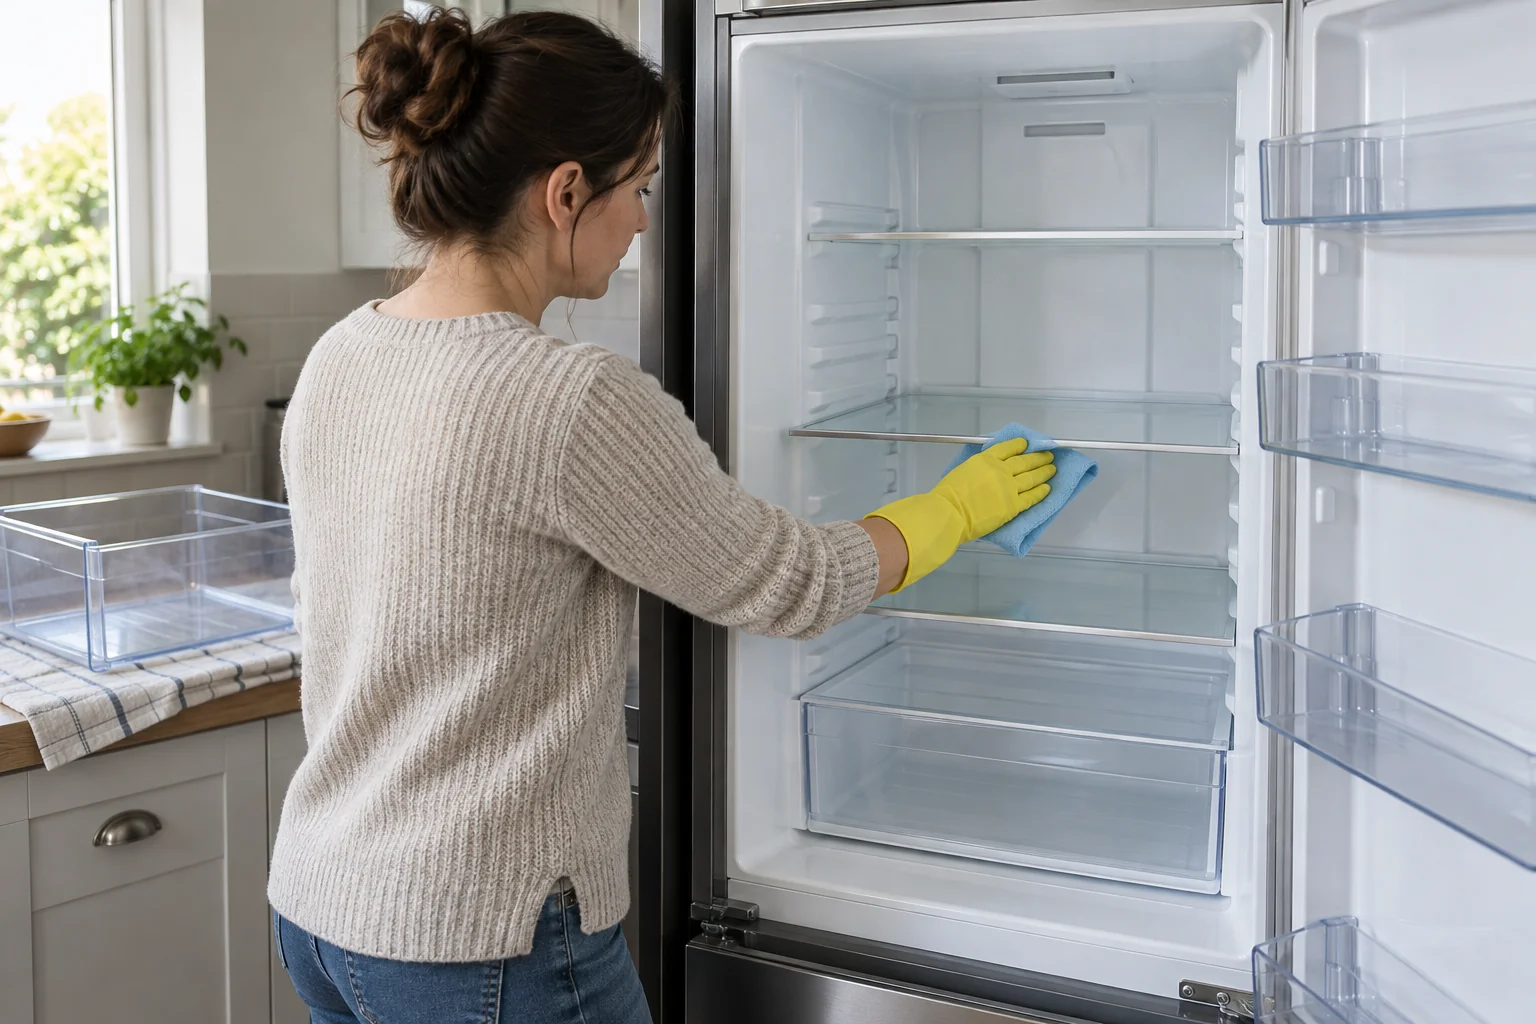
Your fridge deserves regular attention because it stores food every day.
Remove food and check use-by dates before cleaning. Discard anything that is no longer suitable to eat.
Take out removable shelves, drawers and trays and wash them separately with warm water and mild washing-up liquid.
Wipe the inside walls, shelves and door compartments using a clean damp cloth and mild cleaning solution.
Pay special attention to spills around:
Dry all surfaces thoroughly before returning food to the fridge.
If your freezer requires manual defrosting, follow the manufacturer's instructions. Never use sharp objects to remove built-up ice, as this can damage the appliance.
Once defrosted, wipe the interior and dry it thoroughly.
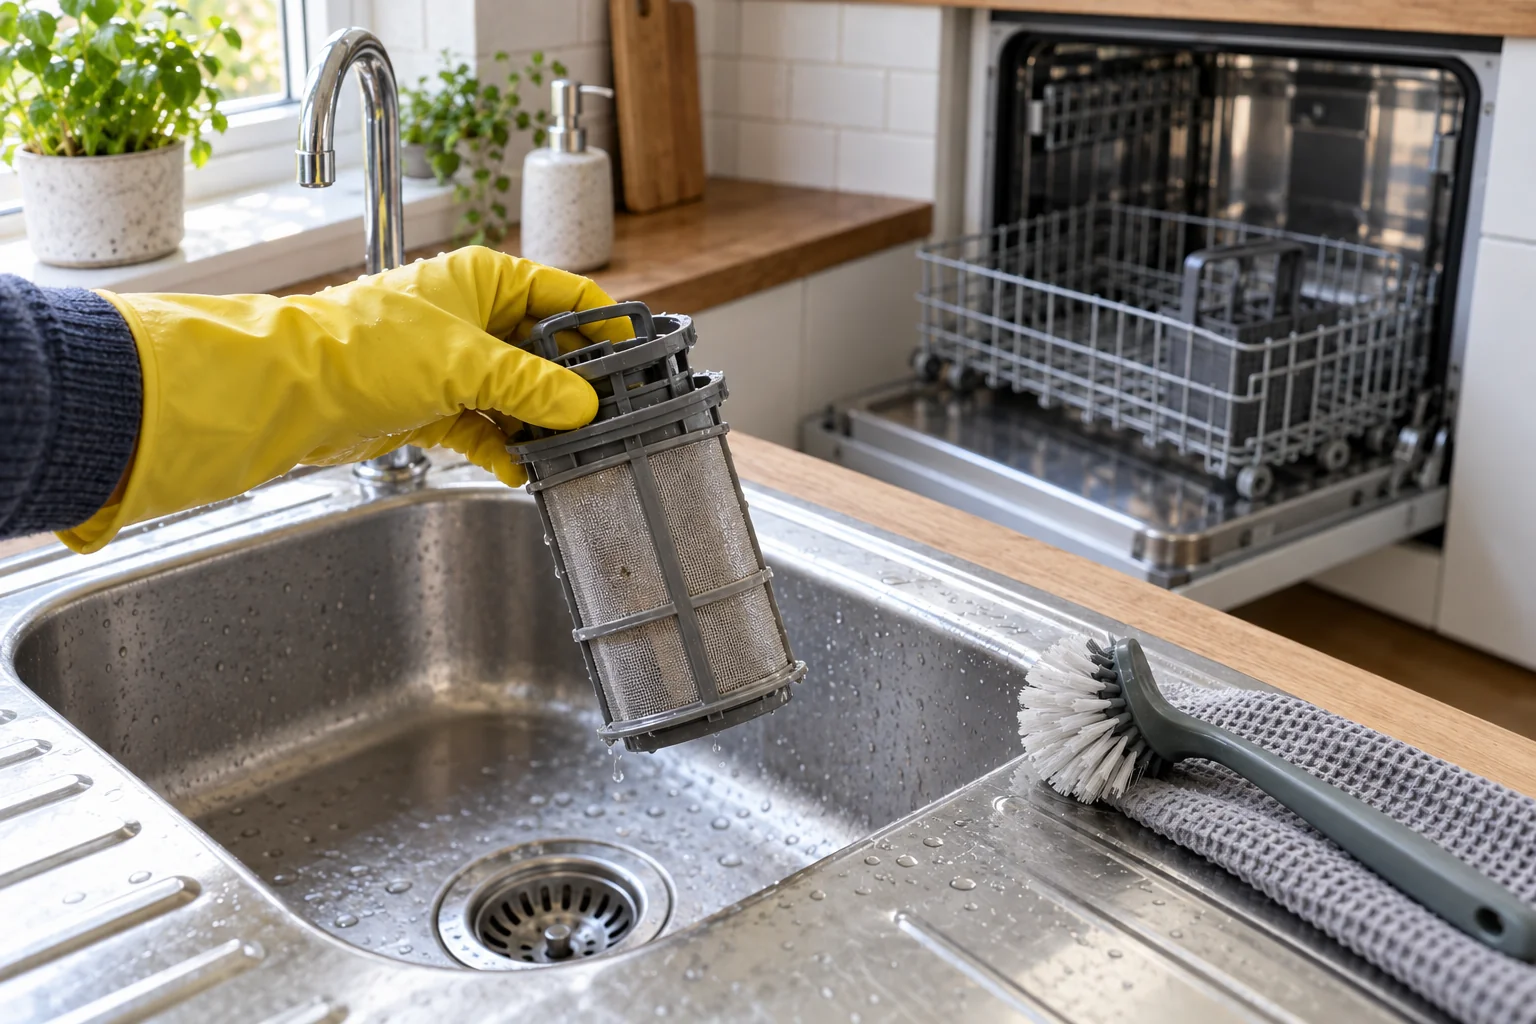
A dishwasher cleans your dishes, but it also needs cleaning itself.
Food particles can collect in the dishwasher filter and eventually cause unpleasant smells or drainage problems.
Remove and clean the filter according to the manufacturer's instructions.
Use a damp microfibre cloth to clean around the rubber seal. This area can collect food residue and moisture.
Some dishwashers have a dedicated cleaning or maintenance programme. If yours does, use it according to the manufacturer's instructions.
You can also use a dishwasher cleaner designed for the appliance when necessary.
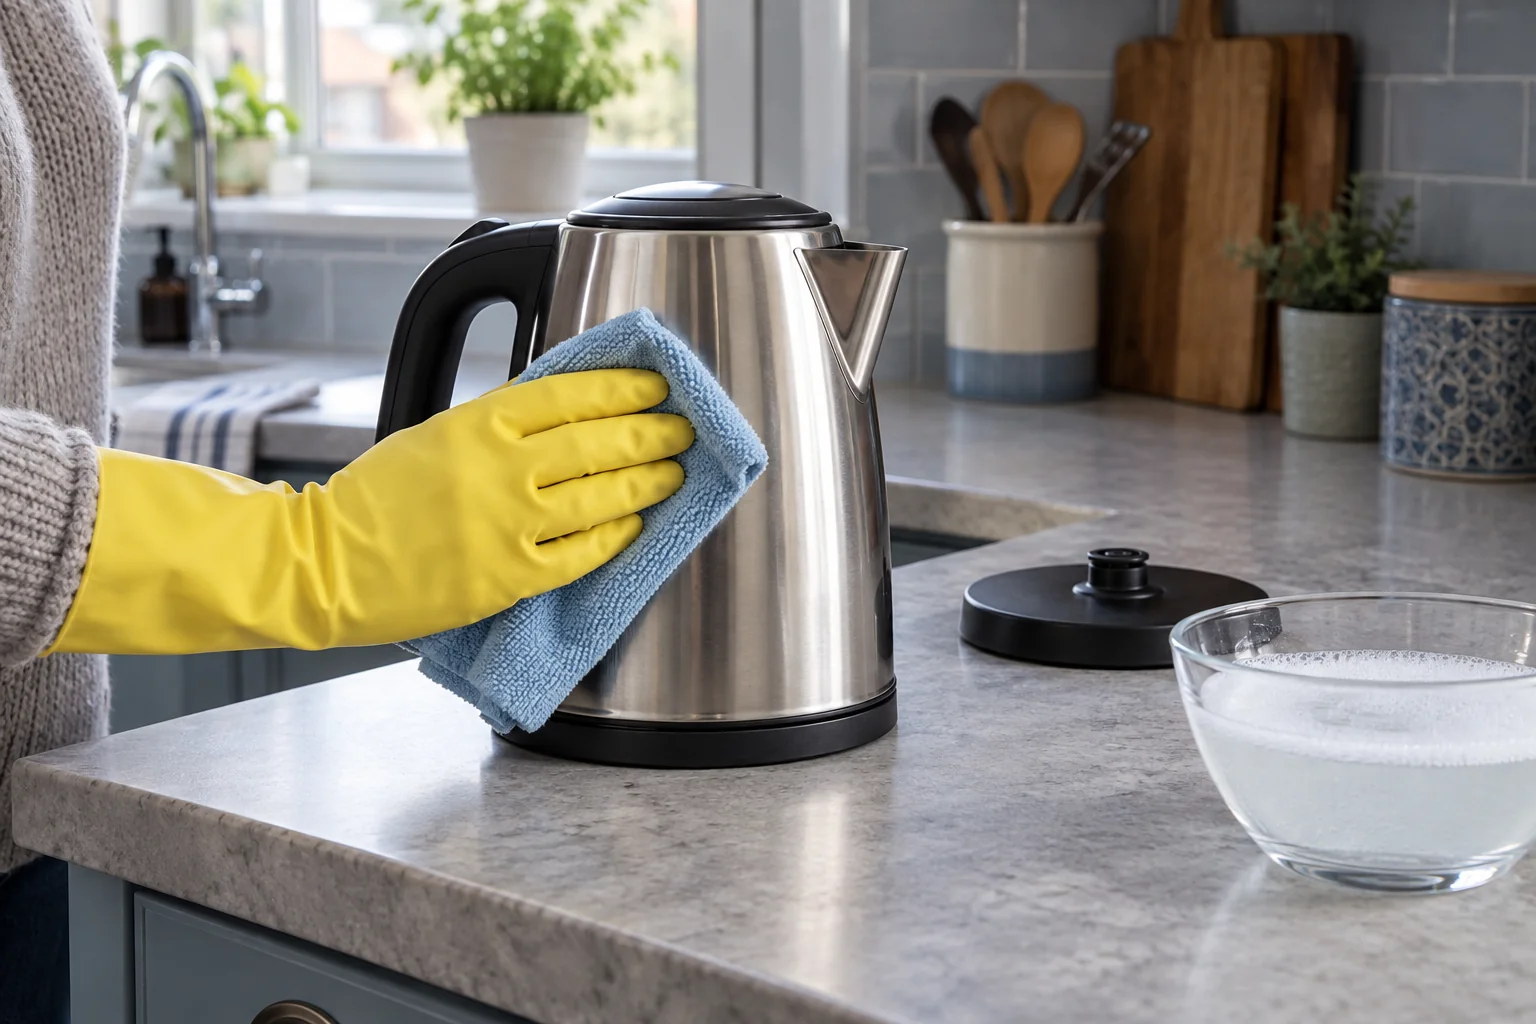
Limescale is particularly common in kettles in areas with hard water. It can affect the appearance of the kettle and may reduce heating efficiency over time.
Use a suitable commercial descaler or follow the manufacturer's recommended descaling method.
If using a homemade vinegar-based solution, check that your kettle manufacturer permits it first.
After descaling, rinse the kettle thoroughly with clean water.
Wipe the outside with a damp cloth and a small amount of washing-up liquid. Keep water away from the electrical base and controls.
Toasters can collect a surprising amount of crumbs.
Unplug the toaster and allow it to cool completely.
If it has a removable crumb tray, take it out and empty it. Wipe the tray clean before replacing it.
For loose crumbs inside the toaster, gently shake it over a bin if the manufacturer's instructions allow this.
Do not pour water into the toaster or insert metal objects inside it.
Use a slightly damp cloth to remove fingerprints and surface marks. Make sure the toaster is completely dry before plugging it back in.
Coffee machines can develop coffee oils, mineral deposits and residue if they are not maintained regularly.
Remove components such as drip trays, water containers and coffee baskets where possible.
Wash them according to the manufacturer's instructions.
Descaling frequency depends on the appliance and your water hardness. Follow the manufacturer's recommended schedule and use the appropriate descaling product.
A clean coffee machine can also help maintain the taste and aroma of your coffee.
Hobs often collect grease, sauce splashes and food particles immediately after cooking.
Allow the hob to cool completely before cleaning. Use a soft cloth and a cleaner suitable for the surface.
For dried-on residue, use a manufacturer-approved hob scraper where appropriate rather than a harsh abrasive pad.
Remove removable pan supports and burner components only when they are cool and according to the manufacturer's instructions.
Wash suitable removable parts separately and clean around the burners carefully.
Make sure everything is completely dry and correctly positioned before using the hob.
Extractor fans help remove steam, smoke and cooking odours, but their filters can become covered in grease.
Check the manufacturer's instructions to determine whether the filters can be washed.
Some metal filters can be cleaned with warm water and washing-up liquid, while other types need replacement.
Clean the visible surfaces with a soft cloth and a suitable degreasing solution. Avoid getting liquid into the motor or electrical components.
Although it is not strictly a kitchen appliance in every home, a washing machine may be located in a UK kitchen and also needs regular maintenance.
Remove the drawer if possible and rinse away detergent and fabric softener residue.
Use an old toothbrush to clean difficult corners.
Wipe around the rubber door seal to remove lint, residue and moisture. Leaving the door slightly open after use can also help the interior dry.
Use the manufacturer's recommended cleaning programme or maintenance method periodically to help reduce residue and unpleasant smells.
Not every appliance needs to be cleaned at the same frequency.
Appliance | Suggested Cleaning Frequency |
|---|---|
Oven | Every 1–3 months, depending on use |
Microwave | Weekly or after messy spills |
Fridge | Wipe spills immediately; deeper clean every few months |
Kettle | Descale when limescale becomes noticeable |
Toaster | Empty crumbs weekly |
Dishwasher | Clean filter regularly and deep clean monthly |
Coffee machine | Clean after use; descale as recommended |
Hob | Wipe after every use |
Extractor fan | Wipe regularly; clean filters as recommended |
Washing machine | Clean monthly or according to manufacturer guidance |
The right schedule depends on how frequently you cook and how heavily each appliance is used.
Cleaning appliances incorrectly can sometimes cause more harm than good.
Electrical appliances should never be soaked or flooded with water. Use a damp cloth instead and keep moisture away from electrical openings.
Strong powders, wire wool and abrasive pads can scratch glass, stainless steel and coated surfaces.
Always allow appliances such as ovens, hobs and grills to cool before cleaning unless the manufacturer specifically recommends another method.
Different materials and appliance designs require different cleaning methods. The manufacturer's manual should always take priority over a general cleaning tip.
Spraying liquid directly onto buttons, touchscreens or control panels can allow moisture to enter the electronics. Apply cleaner to a cloth instead.
A little daily maintenance can dramatically reduce the amount of deep cleaning required.
Don't allow sauces, milk, oil or food residue to dry onto surfaces. A quick wipe is usually much easier than removing hardened grime later.
Using microwave-safe covers helps prevent splashes and reduces the amount of cleaning required.
Overfilled dishes are more likely to spill and create unnecessary mess inside the oven.
Moisture can encourage residue and unpleasant smells, particularly around refrigerators, dishwashers and coffee machines.
Instead of waiting until appliances look extremely dirty, include quick appliance cleaning in your normal weekly kitchen routine.
Cleaning can keep appliances in good condition, but it cannot fix every problem.
Consider professional inspection or replacement if an appliance:
For gas appliances, electrical faults or repairs involving internal components, use an appropriately qualified professional rather than attempting potentially dangerous repairs yourself.
Knowing how to clean kitchen appliances properly can make a noticeable difference to the appearance, hygiene and everyday performance of your kitchen. The key is to clean according to the appliance rather than treating every surface in exactly the same way.
Simple habits such as wiping the hob after cooking, removing microwave splashes, emptying toaster crumbs and cleaning fridge spills promptly can prevent grime from becoming difficult to remove.
For deeper cleaning, always follow the manufacturer's instructions and use products that are suitable for the specific appliance and material. With a consistent cleaning routine, your kitchen appliances can stay fresher, cleaner and better maintained for years to come.

Make more of your kitchen with practical tips on furniture, decor, appliances, cleaning and renovation. Discover useful guides and food ideas to create a space that works beautifully every day.